Top Top
Let your guest know and allow them a few minutes at the end of the cermony to take some of their own photos if they wish!
Youtube video on how to make an unplugged welcome sign
Tools and materials needed
ITEMS USED UK
- Acrylic boards: https://amzn.to/3rq96XN
- Acrylic paint: https://amzn.to/3rjq6Py
- Vinyl: https://amzn.to/3joQO6M
- Transfer Tape: https://amzn.to/2YKCDzm
- Sponge: https://amzn.to/36Gbjqr
- Cricut machine: https://amzn.to/2MRQst1
- Cricut tools: https://amzn.to/3avDEkl
- Cricut mats: https://amzn.to/36HkQgO
ITEMS USED USA (similar)
- Acrylic boards: https://amzn.to/3rpJ32W
- Acrylic paint: https://amzn.to/36FwlVY
- Vinyl: https://amzn.to/3jj6FUj
- Transfer Tape: https://amzn.to/3pNAhM5
- Sponge: https://amzn.to/3asYGju
- Cricut Machine: https://amzn.to/3jhqOdf
- Cricut Tools: https://amzn.to/2Mpxk5Z
- Cricut Mats: https://amzn.to/3cMo9Y5
Painting the acrylic sign
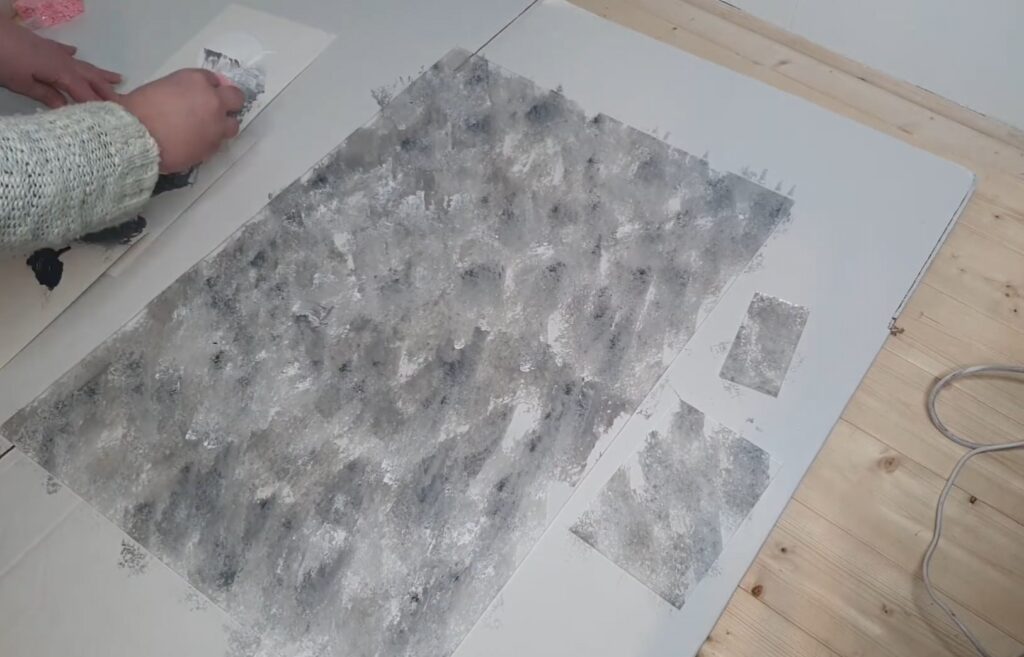
I used a mixture of paint colors to create a textured concrete look. I used a sponge and dabbed the paint in random places, swapping between paint colors and mixing as it went.
It took 2/3 coats to get full coverage and the desired effect,
Designing the sign layout
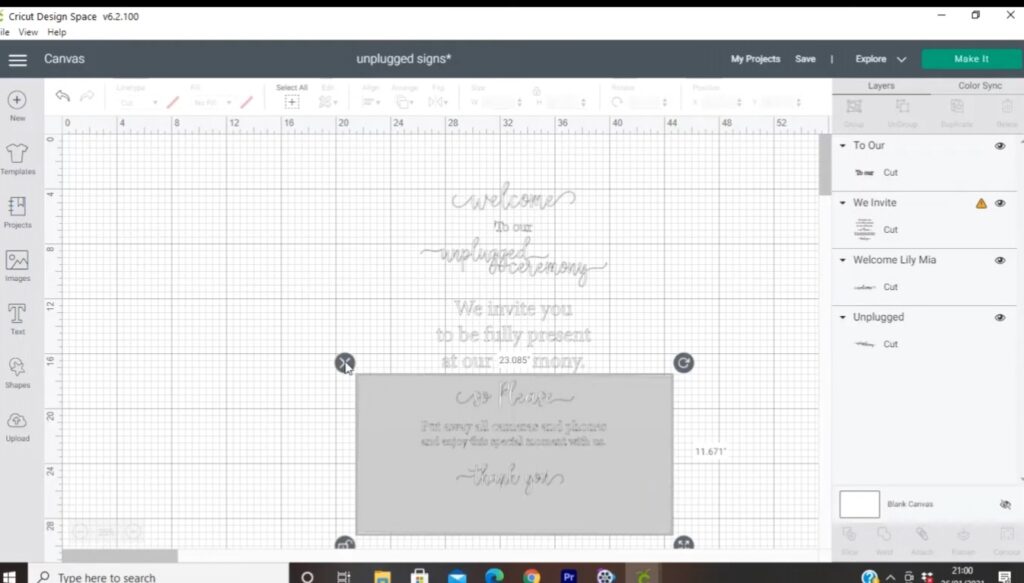
I used adobe illustrator to create the design. I used to use adobe illustrator as I find it easier to create there and move over. It also means I can swap and make a mix of signs in different sizes for one complete wedding or event.
This same design can be created in the Cricut design space. You would have to upload fonts or find similar ones in design space to use.
Cutting and sticking the vinyl
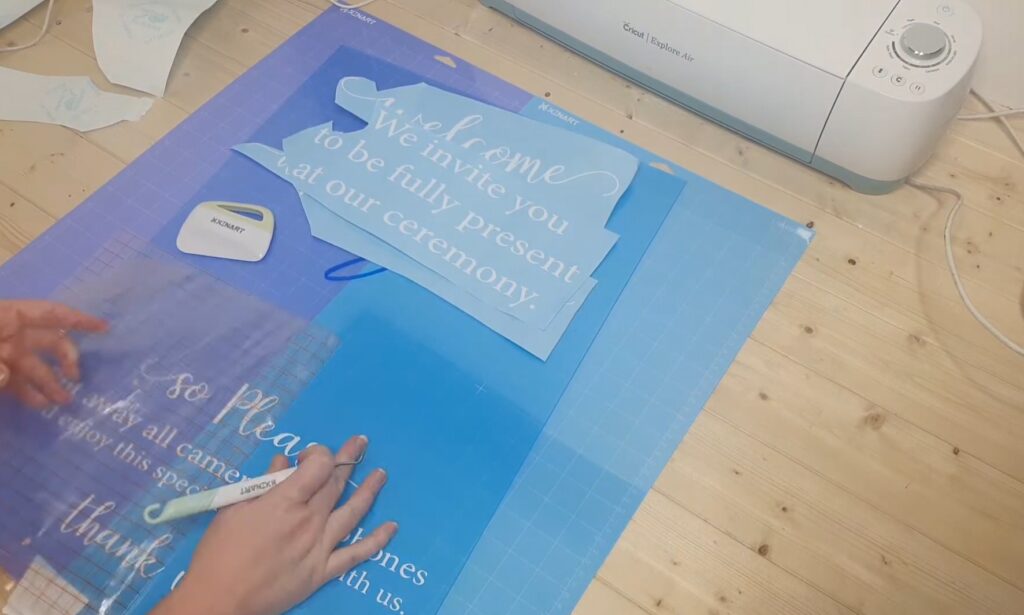
Once the design is in the design space it is time to let the Cricut machine do its magic. Set the machine to cut vinyl.
The trickier part is sticking the vinyl. If you have a squared background you can use this is always the easiest way to get things straight. If not rule and measure the sign, mark where the center is, and work from there.
Take your time and do not stick until you are confident about the placement.
Displaying the sign at your wedding
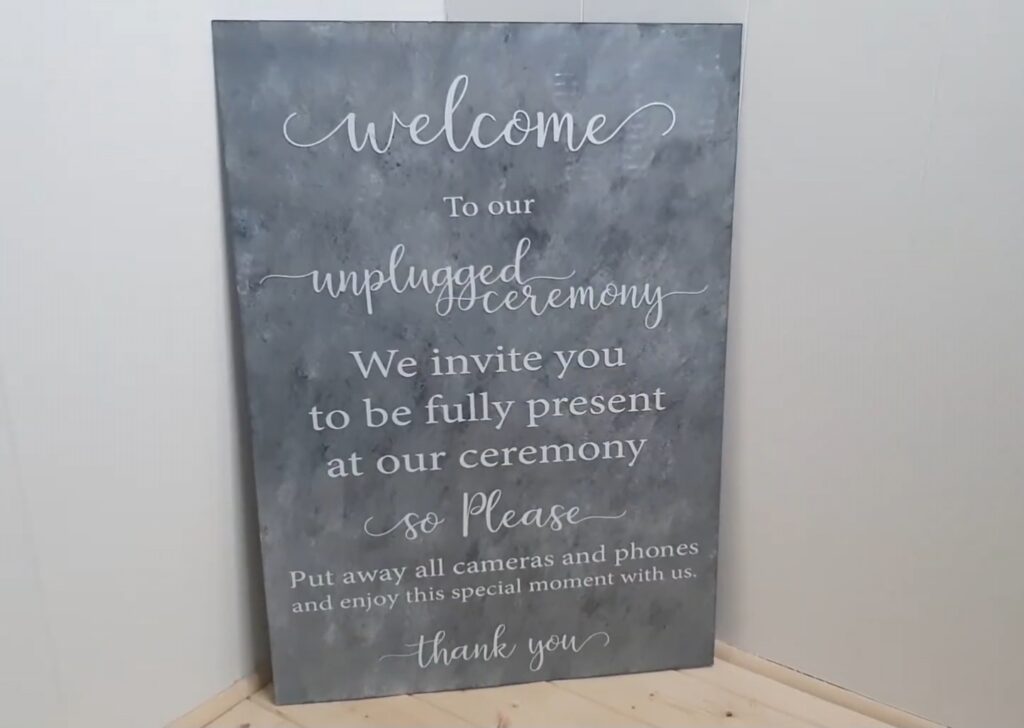
Display the sign at the front of your ceremony entrance. Make sure it is somewhere everyone will see and be able to read.


Leave a Reply